
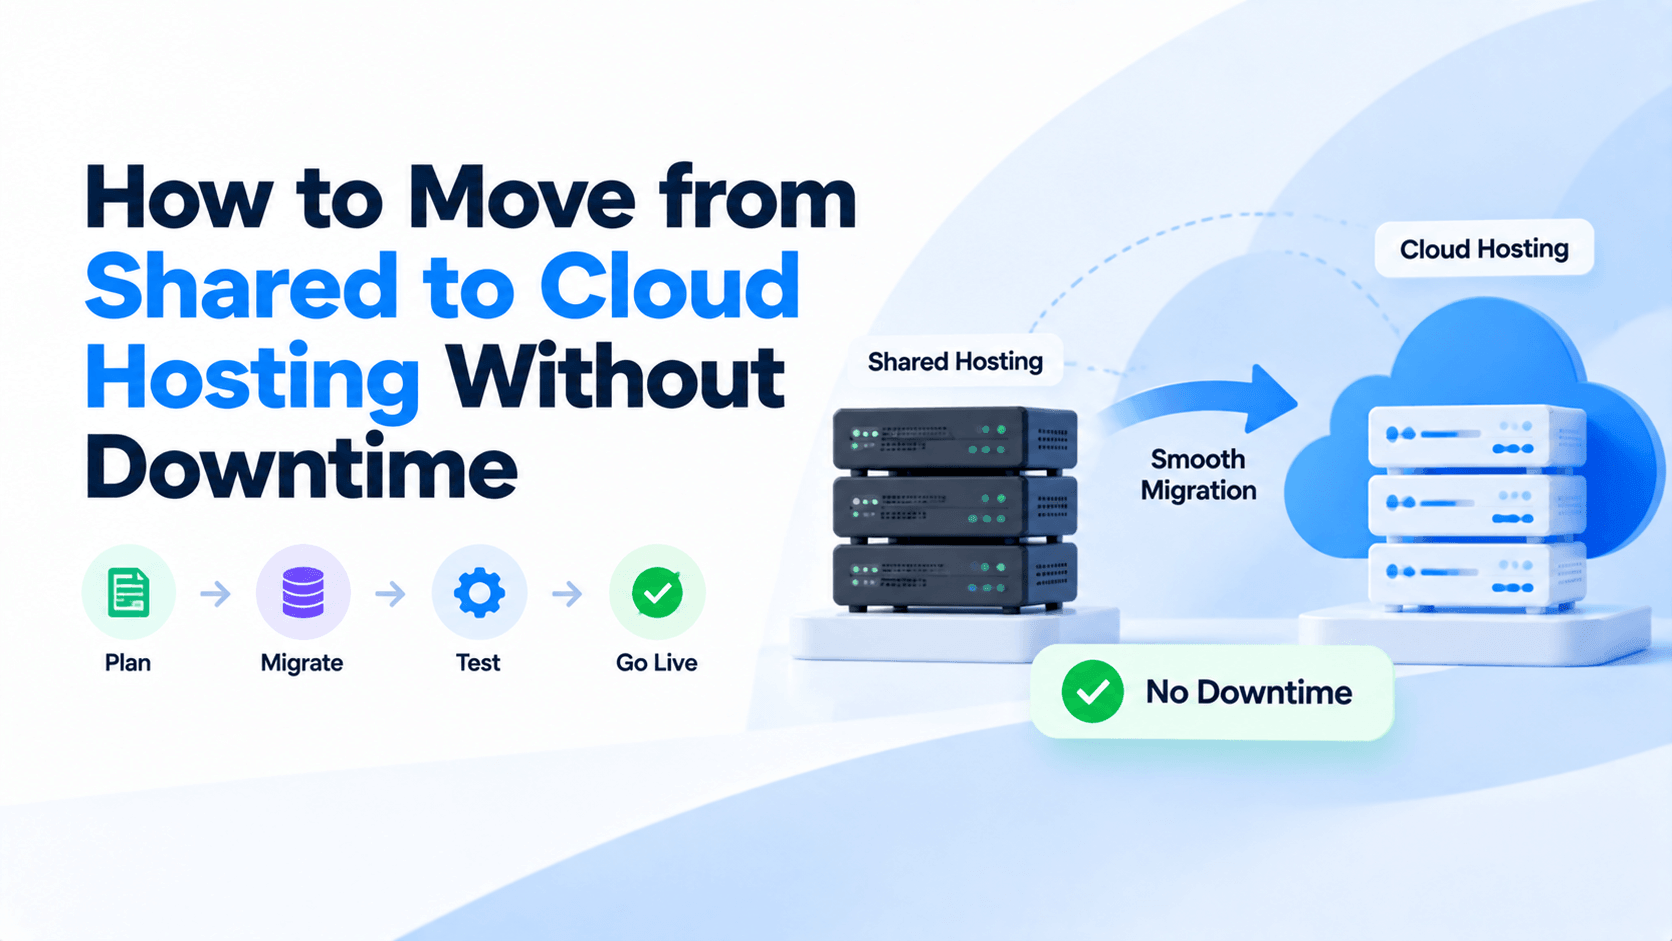
Websites grow over time. As they do, shared hosting often becomes a problem. The CPU, RAM, and storage are limited. Performance slows down. Cloud hosting solves these issues. It offers better scalability, reliability, speed, and flexibility.
You might be wondering how to move from shared to cloud hosting without downtime. A smooth migration requires a solid plan. First, prepare your new cloud server. Then, transfer your website files and database. Always test everything before you make the final switch.
This guide will walk you through the process. You will learn the key steps to migrate safely. We will cover how to update your DNS records. We will also show you how to minimize service interruptions. These steps will keep your website running smoothly during the transition.
What Is Cloud Hosting and Why Upgrade?
Cloud hosting uses many interconnected servers. They work together to host websites. This is different from a single physical server. The distributed setup offers better performance. It also gives you more redundancy and flexibility. Traditional shared hosting cannot match this.
Shared Hosting vs Cloud Hosting
| Feature | Shared Hosting | Cloud Hosting |
|---|---|---|
| Resources | Shared with other websites | Dedicated or scalable resources |
| Performance | Can slow during high traffic | Consistently fast |
| Scalability | Limited | Easily scalable |
| Reliability | Single server dependent | Multiple server redundancy |
| Customization | Limited | Greater control |
| Uptime | Moderate | High availability |
Resource Sharing vs Dedicated Cloud Resources
Shared hosting splits server resources among many users. Your website shares CPU, memory, and storage. If a neighbor’s site uses too much power, your site slows down.
Cloud hosting works differently. It gives you dedicated resources. You can also scale them up when needed. This means your website stays fast and responsive.
Performance Differences
Cloud hosting improves your website in many ways. Here are the key benefits:
- Faster page loading
- Better response times
- Improved database performance
- Stable performance during traffic spikes
Scalability Advantages
Scalability is one of cloud hosting’s biggest strengths. Shared hosting forces you to upgrade to a bigger plan. Sometimes you even need a new physical server. Cloud hosting is more flexible. You can increase CPU, RAM, or storage instantly. This happens with just a few clicks. Your website gets more power exactly when it needs it.
Better Reliability and Uptime
Cloud hosting spreads your website across multiple servers. This creates a safety net. If one server has a problem, another takes over. Your website stays online. Traffic continues flowing without interruption. This reduces downtime significantly. Visitors can always access your site.
Reasons to Switch
Many website owners choose to upgrade for good reasons. Here are the most common ones:
- Higher website speed for better user experience
- Stronger security features and protection
- More reliable uptime for your business
- Increased traffic capacity for growth
- Greater control over server settings
- Improved SEO through faster performance
Things to Prepare Before Migration
Good preparation reduces risks. It also helps ensure a smooth migration. Follow these steps carefully.
Create a Backup
Before you touch anything, back up your entire website. This is your safety net if something goes wrong.
- Backup website files – Download all files from your current hosting account. Use FTP or File Manager. Include WordPress core files, themes, plugins, and uploads.
- Export your database – Use phpMyAdmin or a plugin to export your entire database as a .sql file. Your database contains all your posts, pages, comments, user data, and settings.
- Save email accounts – Export email account configurations and forwarders. Note down passwords or reset them after migration.
- Keep backup copies locally – Store backups on your computer. Also save them in cloud storage like Google Drive or Dropbox. Do not rely only on your hosting provider’s backups.
Check Your Current Hosting Details
You need to know your current setup. This helps you replicate it on your new cloud host.
- PHP version – Note the PHP version your site currently uses. Your new host must support it.
- Database information – Record your database name, username, and host. You may need these during migration.
- Website size – Check total file size and database size. This affects migration time and storage requirements.
- Email configuration – Document IMAP/POP3 and SMTP settings for your email accounts.
Choose the Right Cloud Hosting Provider
Pick a provider that fits your needs. This prevents future migration headaches.
- Performance – Look for NVMe SSD storage. Check for LiteSpeed or Nginx servers. Built-in caching is also a plus.
- Server location – Choose a data centre close to your audience for lower latency.
- Support quality – Test their support before you need it. 24/7 live chat is ideal.
- Pricing – Compare introductory rates and renewal pricing. Watch for hidden fees.
- Scalability options – Ensure you can easily add CPU, RAM, or storage as your traffic grows.
Step-by-Step Migration Process Without Downtime
Here is Step-by-Step Migration process How to move from shared to cloud hosting without downtime.
Step 1: Set Up Your New Cloud Hosting
Start by creating your cloud server account. Pick a provider like DigitalOcean, Vultr, Linode, or AWS. Choose a server size that fits your traffic needs.
- Configure PHP, database, and SSL: Install the PHP version your website needs. Create a database and user for your application. Set up SSL encryption to keep data safe.
- Install required software: Set up Nginx or Apache as your web server. Add any modules you need. Install caching plugins like Redis or Memcached. This will boost performance. Make sure your server meets all software requirements for your CMS.
Step 2: Transfer Website Files
Copy your website files from the old host to the new cloud server. Several methods are available.
- FTP or SFTP: Use an FTP client to download files from the old server. Then upload them to the new one. SFTP is safer. It encrypts your data during transfer.
- Migration plugins: WordPress users have great tools. Duplicator, All-in-One WP Migration, and UpdraftPlus make it easy. They handle most of the work for you.
- Hosting migration tools: Some cloud hosting providers offer migration services or automated tools. Check whether your provider includes this option.
Step 3: Move the Database
Export your website database from the old hosting server. You can use phpMyAdmin to create a SQL export or use the command line with mysqldump.
- Import the database: Upload the SQL file to your new cloud server. Then import it using phpMyAdmin or the command line. Double-check that all tables transferred correctly. Make sure your data is complete.
- Update database configuration: Find your website’s configuration file. Update it with the new database details. Add the new name, username, password, and host information.
Step 4: Test Website Before Switching
Before pointing your domain to the new server, test everything thoroughly. Use the temporary URL provided by your cloud host or edit your local hosts file to preview your site.
Check:
- Pages: Make sure all pages load correctly without errors.
- Images: Confirm that images, media files, and other assets display properly.
- Forms: Test contact forms, login systems, search functions, and checkout processes.
- Login system: Verify that administrator and customer accounts work correctly.
- Plugins: Confirm that all required plugins and integrations function properly.
- Speed: Compare performance and page load times with the old server.
- SSL: Make sure HTTPS works correctly and there are no certificate warnings.
Once everything passes, update your DNS settings to point to your new cloud server. The switch will happen almost instantly, with no downtime for your visitors.
How to Change DNS Without Downtime
DNS changes direct your visitors to the right place. When done correctly, these updates happen with almost no downtime.
Lower DNS TTL Before Migration
- Why TTL matters: TTL stands for Time To Live. It tells DNS resolvers how long to cache your DNS records. They cache records before checking for updates. A high TTL, like 24 hours, means changes take up to a day to spread. A low TTL, like 5 minutes, means changes spread quickly.
- When to change it: Lower your TTL at least 24 to 48 hours before your migration. Set it to 300 seconds, which is 5 minutes. Do this on all DNS records you plan to change. This helps a lot. When you finally update your A record, the new IP address spreads fast. This cuts down any downtime.
Update DNS Records
Handling Emails During Migration
Email migration often gets forgotten. But it is very important.
- Back Up Emails: Back up all email accounts and messages first. Do this before you change DNS or server settings. If you use cPanel, export or back up your email data. Store it somewhere safe.
- Move Email Accounts: Recreate your existing email accounts on the new server. Does your hosting provider offer a migration tool? Use it to transfer accounts and messages automatically.
- Update MX Records: Set up the new email service first. Then update your domain’s MX records. Point them to the new mail server. DNS changes may take time to spread. Keep the old server active during this transition period.
- Test Email Delivery: Send and receive test emails. Use Gmail, Outlook, and other accounts. Check attachments and replies. Test spam filtering and email forwarders. Make sure everything works correctly.
- Keep the Old Server Active: Do not cancel your old hosting right away. Keep it running for a while. Wait until email delivery works reliably on the new server. Make sure all important messages have been transferred first.
SSL Setup After Moving to Cloud Hosting
How to move from shared to cloud hosting Secure connections matter for security and SEO. You need to set up SSL after your migration.
Install an SSL Certificate
Many cloud hosts offer free SSL certificates through Let’s Encrypt. Check your control panel for an auto-install option. Does your provider not offer free SSL? Purchase a certificate instead. Install it manually through your hosting dashboard. For e-commerce sites, think about an Extended Validation (EV) certificate. It adds extra trust for your customers.
Force HTTPS
Once your certificate is installed, redirect all HTTP traffic to HTTPS. This makes sure visitors always use the secure version of your site. Using WordPress? Install a plugin like “Really Simple SSL.” It handles the redirection automatically. For custom sites, add a rewrite rule to your .htaccess file. This forces HTTPS without any extra steps.
Fix Mixed Content Issues
Sometimes pages still reference old HTTP resources.
Check for:
- Images
- JavaScript files
- CSS files
- Fonts
Updating these resources removes browser security warnings.
Common Migration Problems & Solutions
Even well-planned migrations can run into issues. Here are the most common problems and how to fix them.
Website Not Loading
- DNS propagation issues: DNS changes can take time to update across different networks. Use a DNS checking tool to confirm that your domain points to the new server.
- Incorrect server settings: Check that your domain points to the correct document root. Verify the PHP version meets your website’s needs. Make sure extensions and web server settings are correct too.
Database Connection Errors
- Wrong database credentials: Check your
wp-config.phpor application configuration file. Make sure the database name, username, password, and host are correct. - Missing database import: Your site will fail if tables are missing or incomplete. Re-import your database from a clean backup. Use phpMyAdmin or command-line tools to check that tables exist.
Broken Images or Links
- File path issues: Old URLs or incorrect file paths can cause images and links to break. Update outdated URLs in your website files or database.
- Cache problems: Clear your browser, website, and server cache after migration. Cached content may continue showing outdated files or URLs.
Post-Migration Checklist
Before canceling your old hosting account, confirm the following:
- ✅ Website loads correctly
- ✅ SSL certificate is active
- ✅ HTTPS redirects work properly
- ✅ Website speed has improved
- ✅ Email services function correctly
- ✅ Database connections work
- ✅ Automatic backups are configured
- ✅ Security settings are enabled
- ✅ Website monitoring is active
- ✅ Search engines can crawl your website
Monitoring your website for several days after migration helps identify any hidden issues.
Best Practices After Moving to Cloud Hosting
Cloud hosting opens up many ways to improve your site. Here are the best practices to follow.
Enable Automatic Backups
Cloud servers can fail sometimes. Human error happens too. Ransomware attacks are also increasing. Schedule automated daily backups for safety. Store copies off-site or in a separate cloud region. Test your restore process regularly. A backup is useless if you cannot restore it.
Use a CDN
A CDN caches your static files on servers around the world. These files include images, CSS, and JavaScript. Visitors download files from the closest edge server. This dramatically reduces load times. It helps especially for international audiences. Cloudflare offers a free CDN that works well with most cloud hosts.
Monitor Server Resources
Track:
- CPU usage
- RAM usage
- Disk space
- Bandwidth
- Response times
Monitoring allows you to scale resources before performance problems occur.
Optimize Website Performance
Continue improving speed by:
- Compressing images
- Enabling caching
- Minifying CSS and JavaScript
- Using modern image formats
- Optimizing your database
Regular optimization helps maintain excellent user experience and search engine rankings.
Perform Regular Security Updates
Keep your:
- Operating system
- PHP version
- CMS
- Themes
- Plugins
- Security software
fully updated to protect against vulnerabilities.
Conclusion
Learning how to move from shared to cloud hosting doesn’t have to mean downtime. You can upgrade your website with almost no disruption at all. Cloud hosting gives you better speed. It scales with your traffic. It’s more reliable too.
Proper planning makes the transition smooth. Complete backups protect your data. Careful testing catches issues early. Correct DNS management prevents visitor problems. These steps safeguard your SEO rankings too. They protect your user experience as well.
Do you run a blog, business website, or online store? Cloud hosting gives you a stronger foundation for future growth.
Ready to take the leap? Pick a trusted cloud hosting company. Start your move today. Enjoy faster load times, steady performance, and room to grow without limits.

Leave a Comment