
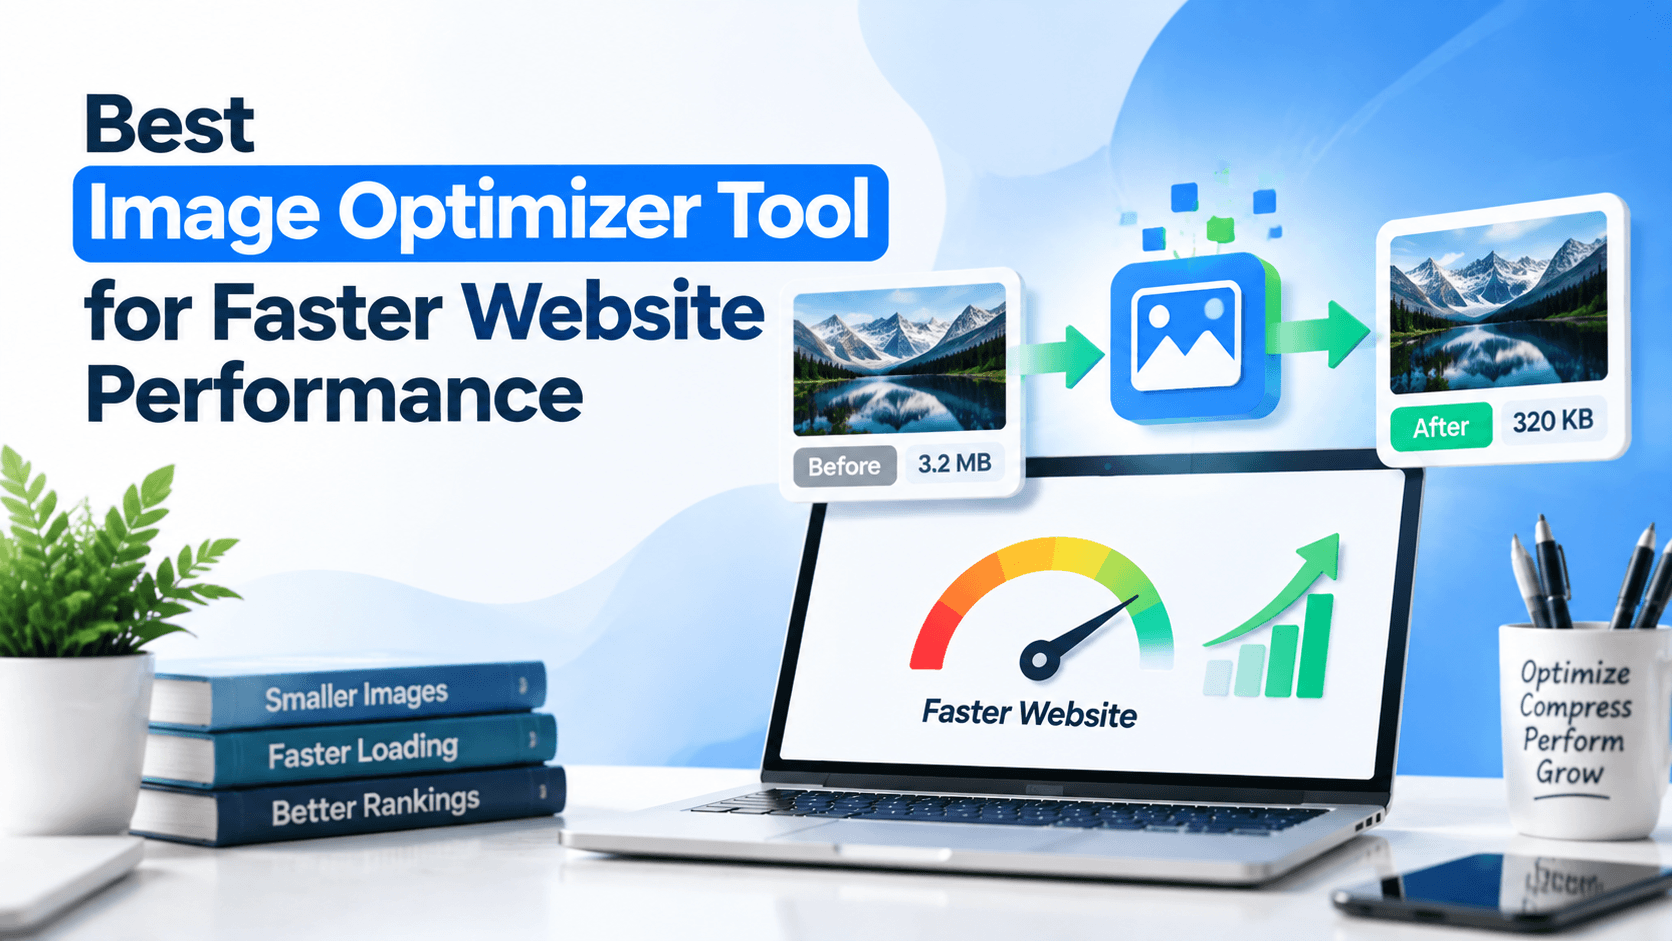
Images matter for modern websites. They catch attention. They explain ideas. They boost user engagement.
But big images cause problems. Unoptimized photos slow down pages. They hurt user experience. They also harm SEO rankings.
Image optimization fixes this. It shrinks file sizes. It keeps quality intact. You need the right formats and compression methods. Smart delivery also helps.
These steps improve page speed. They boost Core Web Vitals. They make your whole website perform better.
This guide shows you the tBest Image Optimizer Tool . You will learn useful techniques. You will also discover key features to look for when picking the right tool.
What Is an Image Optimizer Tool?
An image optimizer tool shrinks file sizes. It keeps the best visual quality possible. The tool removes extra metadata. It compresses image data. It reduces colors. It also converts images to better formats.
Smaller images load faster. They use less bandwidth. They improve Core Web Vitals. They boost SEO. They also enhance user experience.
How Image Optimizer Tools Work
Most tools use several methods to shrink files. They still keep good visual quality.
- Stripping metadata: This removes unneeded EXIF data. Examples include camera details, GPS info, and capture dates.
- Removing invisible pixels: This deletes transparent or empty areas. These parts do not add to the visible image.
- Applying compression: This uses algorithms to reduce data. The result is smaller files with little quality loss.
- Color reduction: This cuts unnecessary colors. It works great for graphics, logos, icons, and illustrations.
Compression vs. Resizing vs. Format Conversion
These three terms are often confused but serve different purposes:
- Compression: Reduces the file size of an image without changing its dimensions. A 2000×1500 pixel image remains 2000×1500 pixels, but its file size may drop from 2 MB to 200 KB.
- Resizing: Changes the actual dimensions of an image. A 2000×1500 pixel image resized to 800×600 pixels becomes physically smaller. Resizing is usually done before uploading, not by optimizer tools.
- Format conversion: Changes the image from one file type to another (e.g., PNG to JPEG, JPEG to WebP). Different formats have different compression capabilities and quality characteristics.
Most image optimizer tools offer compression and format conversion. Resizing is usually handled by editing software or CMS platforms before optimization.
Lossy and Lossless Compression Explained
Lossless compression cuts file size without losing quality. It works well for logos, icons, and screenshots. PNG and WebP support this type.
Lossy compression removes some image data. This creates much smaller files. It works best for photos and complex images. JPEG and WebP are common formats.
Choosing between the two: Use lossy for most photos when smaller sizes matter most. Choose lossless for logos, icons, and graphics. These need sharp details and accurate colors.
Why Website Speed Depends on Image Optimization
Images are often the biggest part of a webpage. Large, uncompressed photos increase loading times. They use more bandwidth. They also slow down page rendering.
Images as Large Website Assets
High-resolution photos hold lots of data. Uploading a 4000×3000 pixel image wastes bandwidth. You only need it to show at 400×300 pixels. Proper resizing and compression cut file sizes dramatically. This improves page speed.
Effects on Loading Times
Mobile User Experience Benefits
Mobile users often have slower connections. Optimized images matter even more for them. Responsive image techniques deliver the right size for each device. Pages load quickly across different screens and networks.
Improved Core Web Vitals
Image optimization boosts Core Web Vitals. It especially helps Largest Contentful Paint (LCP). Compressing key images makes pages load faster. Defining image dimensions prevents layout shifts too.
Better Search Engine Rankings
Key Features to Look for in an Image Optimizer Tool
Best Image Optimizer Tool cut file sizes. They boost quality. They speed up websites.
- Automatic Compression: This compresses images during upload. It saves time. It also ensures every image gets optimized.
- Bulk Image Optimization: This lets you compress many images at once. It works well for websites with large media libraries.
- Image Resizing: This reduces oversized images to proper dimensions. It lowers file sizes. It also improves responsive image delivery.
- Modern Format Conversion: This changes images to formats like WebP and AVIF. These provide better compression. They also speed up loading.
- Quality Control Settings: These let you adjust compression levels. You can balance quality and file size. Choose what works for your needs.
- Cloud-Based Processing: This handles images on external servers. It cuts CPU and memory load on your hosting server.
- API Integration: This lets developers automate image optimization. It works within websites, apps, eCommerce platforms, and development workflows.
- Security and Privacy: Look for secure uploads. Check for clear data-retention policies. Seek automatic file deletion. Self-hosted options give more control over sensitive images.
Benefits of Using an Image Optimizer Tool
Best Image Optimizer Tool shrink file sizes. They help websites load faster. They boost overall performance.
- Faster Page Load Speed: Smaller images load quicker. This reduces delays. It keeps visitors on your website longer.
- Better SEO Performance: Faster pages improve Core Web Vitals. They especially help Largest Contentful Paint (LCP). This supports better search performance.
- Reduced Bandwidth Usage: Optimized images need less data. This lowers bandwidth consumption. It also helps reduce hosting costs.
- Improved User Engagement: Faster pages create smoother experiences. This encourages visitors to browse more. They interact with more content too.
- Higher Conversion Rates: Better speed reduces abandonment. More visitors complete purchases. They fill out forms and sign-ups as well.
- Better Mobile Performance: Smaller images load faster on mobile networks. This improves usability for smartphone visitors. It also helps those on slower connections.
Best Image Optimizer Tool for Website Performance
Choosing the Best Image Optimizer Tool can feel overwhelming. Dozens of options exist. We tested 10 popular tools across 100 real images. We used 4 quality levels. That equals 4,000 total compressions. Clear winners emerged based on compression quality, file size reduction, speed, and privacy.
Overview of the Tool: Squoosh
Squoosh is Google’s free tool. It is open-source. It runs entirely in your browser. No uploads happen. No server processing occurs. Your images never leave your device.
Main features:
- Local browser-based processing (privacy-focused)
- Full manual control over compression settings
- Side-by-side comparison of original vs compressed
- Support for modern formats including WebP and AVIF
- CLI version available for batch processing
Supported image formats: JPEG, PNG, WebP, AVIF, GIF, BMP, TIFF
Compression capabilities: At quality 80%, Squoosh cuts file size by 72%. It scores 78.4 on SSIMULACRA 2 quality. This is the highest quality-to-size ratio among all tools tested. For product photos specifically, it delivers 74% reduction at quality score 80.2.
Ease of use: The interface is simple drag-and-drop. Each image processes individually. This gives you precise control over settings. Processing time averages 2.1 seconds per image.
Why It Stands Out
- Fast processing: Squoosh processes locally with WebAssembly. This avoids upload and download delays. Average processing time is 2.1 seconds per image. You can compress images without waiting for server queues.
- High-quality compression: At quality 80, Squoosh reduces file size by 72%. It maintains excellent visual quality at 78.4 SSIMULACRA 2. At quality 90, it reaches 84.2 SSIMULACRA 2. This comes with 58% reduction.
- User-friendly interface: The split-screen view lets you compare images side by side. You can zoom in and adjust settings. Changes appear instantly. No account is required.
- No installation required: Squoosh runs directly in any modern browser. Just go to squoosh.app. No downloads, plugins, or technical setup needed.
How to Optimize Images Step by Step
Upload your image to an optimizer, select the desired compression and quality settings, run the optimization process, download the compressed file, and upload it to your website. Always test image quality and page speed after optimization.
Step 1: Upload Your Image
Start by getting your image into your chosen tool. The exact method depends on what you use. But the principle stays the same.
- Online tools (Squoosh, TinyPNG, Kraken.io): Click the upload button. Or drag and drop your image into the browser window. These tools are free. They need no installation.
- Photoshop: Go to File > Open and select your image. You can also use Ctrl+O (Windows) or Command+O (Mac).
- GIMP (free alternative): Navigate to File > Open. Or drag and drop your image into the GIMP workspace.
- WordPress plugins (Optimole, ShortPixel, BinsOptimizer): These work automatically after installation. You do not need to upload anything manually. They compress images as you add them to your media library.
Step 2: Choose Compression Settings
This is where you balance file size against quality. Different tools offer different control levels.
Understanding compression types:
- Lossy compression: This removes some image data permanently. It creates much smaller files. It works great for photographs and most web images. A slight quality drop is usually not noticeable. JPEG is the standard lossy format.
- Lossless compression: This reduces file size without any quality loss. It works best for logos, screenshots, and graphics. These need sharp text or edges. PNG is a common lossless format.
Key settings to look for:
- Quality slider (for JPEG): A setting between 60% and 85% works well for the web. It cuts file size significantly. It still keeps excellent visual quality.
- Max width/resolution: For web use, you rarely need images wider than 1200-2500 pixels. Set a maximum width like 1200px or 1920px. The tool downsizes it automatically. For standard web images, 72 PPI works perfectly. This keeps file sizes small.
- Output format: Choose WebP or AVIF for best performance. These modern formats can be 80% smaller than JPEGs. They keep the same visible quality. If not available, use JPEG for photos. Use PNG for graphics with transparency.
Step 3: Optimize the Image
Once you have chosen your settings, let the tool do its work.
- Online tools and Photoshop: Click the “Compress”, “Optimize”, or “Export” button. In Photoshop, use “Save for Web (Legacy)” under File > Export. This shows a preview of final size and quality before saving.
- Bulk optimizers (ShortPixel CLI): Use a command-line tool for many images. A script scans a folder. It uploads each image to the optimization API. It downloads the optimized version. It can process many images at once to save time.
- Background processing: Some tools like Optimole WordPress plugin process images in the background. You do not need to keep a browser tab open. The optimization happens on the server or in the cloud.
- Automatic (WordPress plugins): With plugins like BinsOptimizer, optimization happens instantly. It occurs in your browser at upload time. No extra steps are needed from you.
Step 4: Download the Optimized Version
After optimization completes, save the new smaller file to your computer.
- Online tools: A download link or button appears. Click it to save the optimized image. Many tools let you download as a ZIP file. This works well for multiple images.
- Photoshop: After using “Save for Web”, click the “Save” button. Choose a location on your computer. Give the file a clear, descriptive name like red-dress-product-opt.jpg.
- Bulk optimizers: The script saves optimized files automatically. It may overwrite originals after creating a backup. Or it places them in a separate output folder.
Step 5: Upload to Your Website
The final step is getting your lightweight image onto your site.
- WordPress: Go to your Media Library. Click “Add New”. Upload the optimized image like any other file. The plugin will not re-compress it. It is already optimized.
- Using an automatic plugin: With Optimole, ShortPixel, or BinsOptimizer installed, this step is automatic. When you upload through the standard WordPress uploader, the plugin compresses it. It also converts to WebP on the fly. You do not need to do anything special.
- Important: After uploading, test your page with Google PageSpeed Insights or GTmetrix. You should see improvement in your Largest Contentful Paint (LCP) score. Your page’s total load time should drop noticeably.
Image Optimization Best Practices
Use properly sized images. Choose modern formats like WebP and AVIF. Compress files before uploading.
Use the Correct Image Dimensions
Avoid uploading images much larger than their display size. For example, a blog image appears at 800px wide. Uploading a 4000px version wastes bandwidth. It also slows loading.
Best practice: Resize images to their intended display size before uploading. For hero or background images, use larger dimensions like 1920px when needed. Use responsive images with srcset to serve the right size for each device.
Choose Modern Formats Like WebP and AVIF
WebP and AVIF offer better compression than JPEG and PNG. They reduce file sizes while keeping quality. WebP supports lossy, lossless, and transparent images. AVIF provides even greater compression. Use tools like Squoosh or ImageMagick to convert images. Provide JPEG or PNG fallbacks when needed.
Compress Images Before Uploading
Avoid uploading raw images from cameras or design software. They can be 5–10MB or larger. Compress images before uploading. This cuts file size while maintaining quality.
Lossy compression gives greater size savings. Lossless compression preserves image data. For most web images, 70–85% quality offers the best balance.
Tools: TinyPNG/TinyJPG (free), ImageOptim (Mac), FileOptimizer (Windows), ShortPixel, Imagify.
Implement Lazy Loading
Lazy loading delays off-screen images. They load only when close to entering the viewport. This reduces initial resource loading. It improves page speed.
How to implement: Add loading=”lazy” to your <img> tags: <img src=”image.jpg” loading=”lazy” alt=”description”>. For background images, JavaScript libraries can help. Platforms like WordPress and Shopify support lazy loading by default.
Use Responsive Images
Different devices have different screen sizes. Serving the same large image everywhere wastes bandwidth. Responsive images let browsers load the most suitable size for each device.
How to implement: Use srcset and sizes attributes. The browser chooses the right image based on screen size and resolution. Example: <img srcset=”image-400.jpg 400w, image-800.jpg 800w, image-1200.jpg 1200w” sizes=”(max-width: 600px) 400px, (max-width: 1200px) 800px, 1200px” src=”image-800.jpg” alt=”description”>.
Regularly Audit Website Images
Image optimization is an ongoing task. As you add new content, check for oversized images. Look for unused or outdated files. Check for missing alt text. Find files that could be resized, compressed, or converted to WebP or AVIF.
Use tools like Google PageSpeed Insights, GTmetrix, or Lighthouse. Perform monthly or quarterly audits. Keep your images optimized.
Common Image Optimization Mistakes to Avoid
Uploading Oversized Images
Uploading images much larger than needed wastes bandwidth. It also slows down your website. For example, a 4000px image may be 2–5 MB. An 800px version could be only 100–300 KB. The visible difference is small.
How to fix it: Resize images to their intended display dimensions before uploading. Tools like Photoshop, GIMP, Canva, and online resizers can help. Platforms like WordPress and Shopify also offer resizing options.
Compressing Too Aggressively
Over-compression makes images look blurry or blocky. It removes too much image data. This can make your website appear less professional.
How to fix it: Balance file size with visual quality. For JPEG and WebP images, 70–85% quality usually works well. Always preview compressed images. Zoom in to check for visible artifacts before publishing.
Ignoring Mobile Optimization
Serving large desktop images to mobile users wastes data. It slows down page loading. This is especially true on slower connections.
How to fix it: Use responsive images with srcset or the <picture> element. This delivers the right image size for each device. Enable lazy loading for off-screen images. Upload properly sized images so your CMS can serve optimized versions automatically.
Using Outdated Image Formats
JPEG and PNG are widely used. But newer formats like WebP and AVIF offer smaller file sizes. They keep similar visual quality. This reduces bandwidth usage. It also improves page speed.
How to fix it: Convert images to WebP or AVIF using tools like Squoosh, ImageOptim, or ShortPixel. Use JPEG or PNG fallbacks when needed for older browser compatibility.
Not Testing Page Speed After Optimization
Image optimization only works if it improves performance. Without testing, you may miss issues. These include oversized images, unsupported formats, or broken lazy loading.
How to fix it: Test your site with Google PageSpeed Insights, GTmetrix, or WebPageTest. Do this before and after optimization. Check Largest Contentful Paint (LCP). Test both mobile and desktop performance.
Image Optimizer Tool vs Manual Optimization
Image optimizer tools provide automated compression, bulk processing, format conversion, and consistent results, making them ideal for most websites. Manual optimization offers greater control over individual images but is slower, less scalable, and more time-consuming for large image libraries.
Comparison Table: Image Optimizer Tool vs Manual Optimization
| Feature | Image Optimizer Tool | Manual Optimization |
| Speed | Fast — processes hundreds of images in seconds or minutes | Slow — each image must be opened, compressed, and saved individually |
| Ease of Use | Easy — drag and drop, click a button, done | Complex — requires knowledge of compression settings, file formats, and resolution |
| Bulk Processing | Yes — can handle entire folders or thousands of images at once | Limited — batch processing possible in some desktop apps, but setup is time‑consuming |
| Automation | Yes — can integrate with workflows, watch folders, or run on a schedule | No — each image requires manual intervention |
| Consistency | High — same compression algorithm applied uniformly across all images | Varies — human error leads to inconsistent file sizes and quality levels |
Frequently Asked Questions (FAQs)
Does image optimization reduce image quality?
Not necessarily. Proper compression cuts file size while keeping images sharp. Lossless compression preserves quality. Lossy compression may cause minor quality loss.
What is the best image format for websites?
WebP is a great choice for most images. Use SVG for logos and icons. Use JPEG or PNG when needed for compatibility or transparency.
How much can image compression improve page speed?
Compression can significantly reduce image file sizes. This helps pages load faster. It also reduces bandwidth usage.
Is lossless compression better than lossy compression?
It depends. Lossless is best when quality must be preserved. Lossy is usually better for web photos because it achieves smaller file sizes.
Can optimized images improve SEO rankings?
Yes. Smaller, properly formatted images improve page speed and user experience. Descriptive filenames and alt text also support image SEO.
Conclusion
Image optimization is a simple way to boost website speed. It also improves SEO and user experience. Compressing images cuts file sizes. It keeps visual quality intact.
Using the Best Image Optimizer Tool helps even more. Add WebP or AVIF formats. Use responsive images and lazy loading. These steps deliver better results.
Tools like ShortPixel, Imagify, and TinyPNG make optimization easy. They offer automation and bulk processing. Ready to speed up your website? Choose the Best Image Optimizer Tool. Start optimizing your images today.

Leave a Comment